Creating a VM with DigitalOcean for Trading
Sep 7, 2019
Disclaimer: I take no responsibility if you follow this guide and get hacked and lose all your money. It’s best to run everything at home or hardware you own when possible.
I’ve already made a guide about moving trading algorithms to Linux and using Docker for Trader Workstation which can be found here. In this guide I will be going over how to setup a VM (aka VPS) at DigitalOcean for basically nothing to run Trader Workstation. You can follow the same steps with EC2 (or Lightsail), Google, Linode, or another provider. I would not recommend using a random cheap host you found off Google.
Oracle now provides a free tier that gives you access to two VMs (at the time of writing). Give that a try if you don’t want to spend any money.
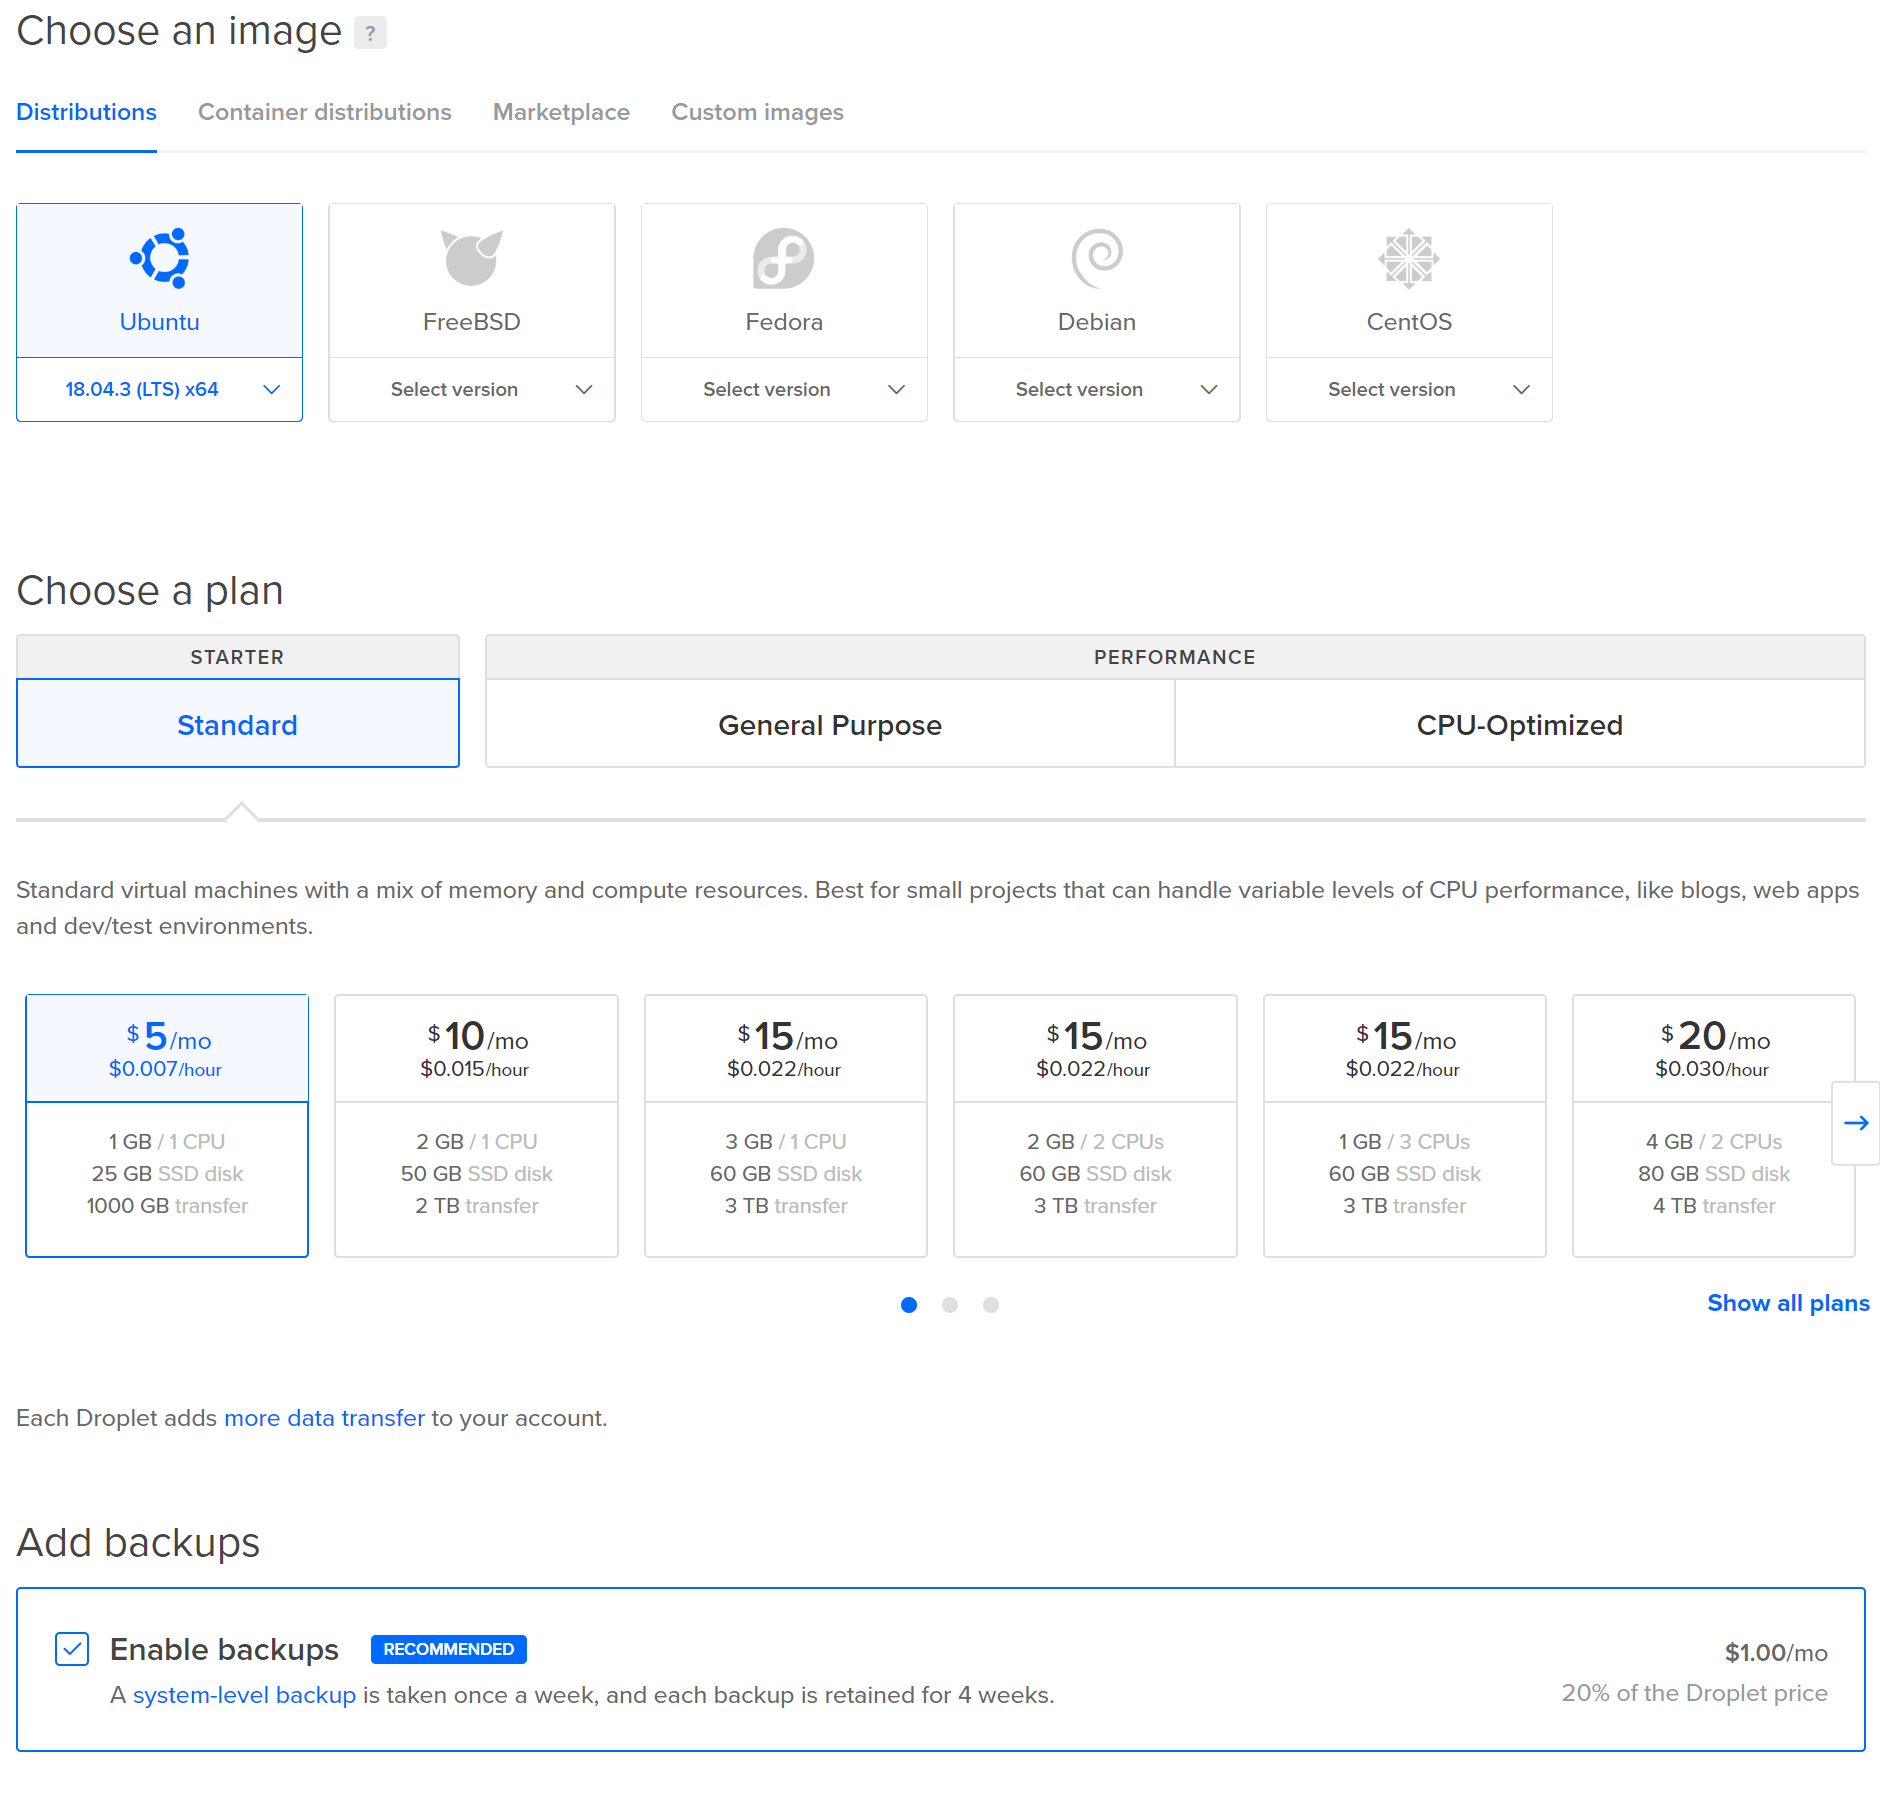
Step 1
- I’ll be using Ubuntu 18.04 x64 with the cheapest $5 plan. This should be plenty for my needs and if not I can easily upgrade to the $10 plan with 2GB of memory.
- I recommend enabling backups since it’s only $1 a month and if something bad happens you can restore the VM almost instantly.
- The location is important since IBs servers are near New York. I have chosen the New York 3 location (not pictured).
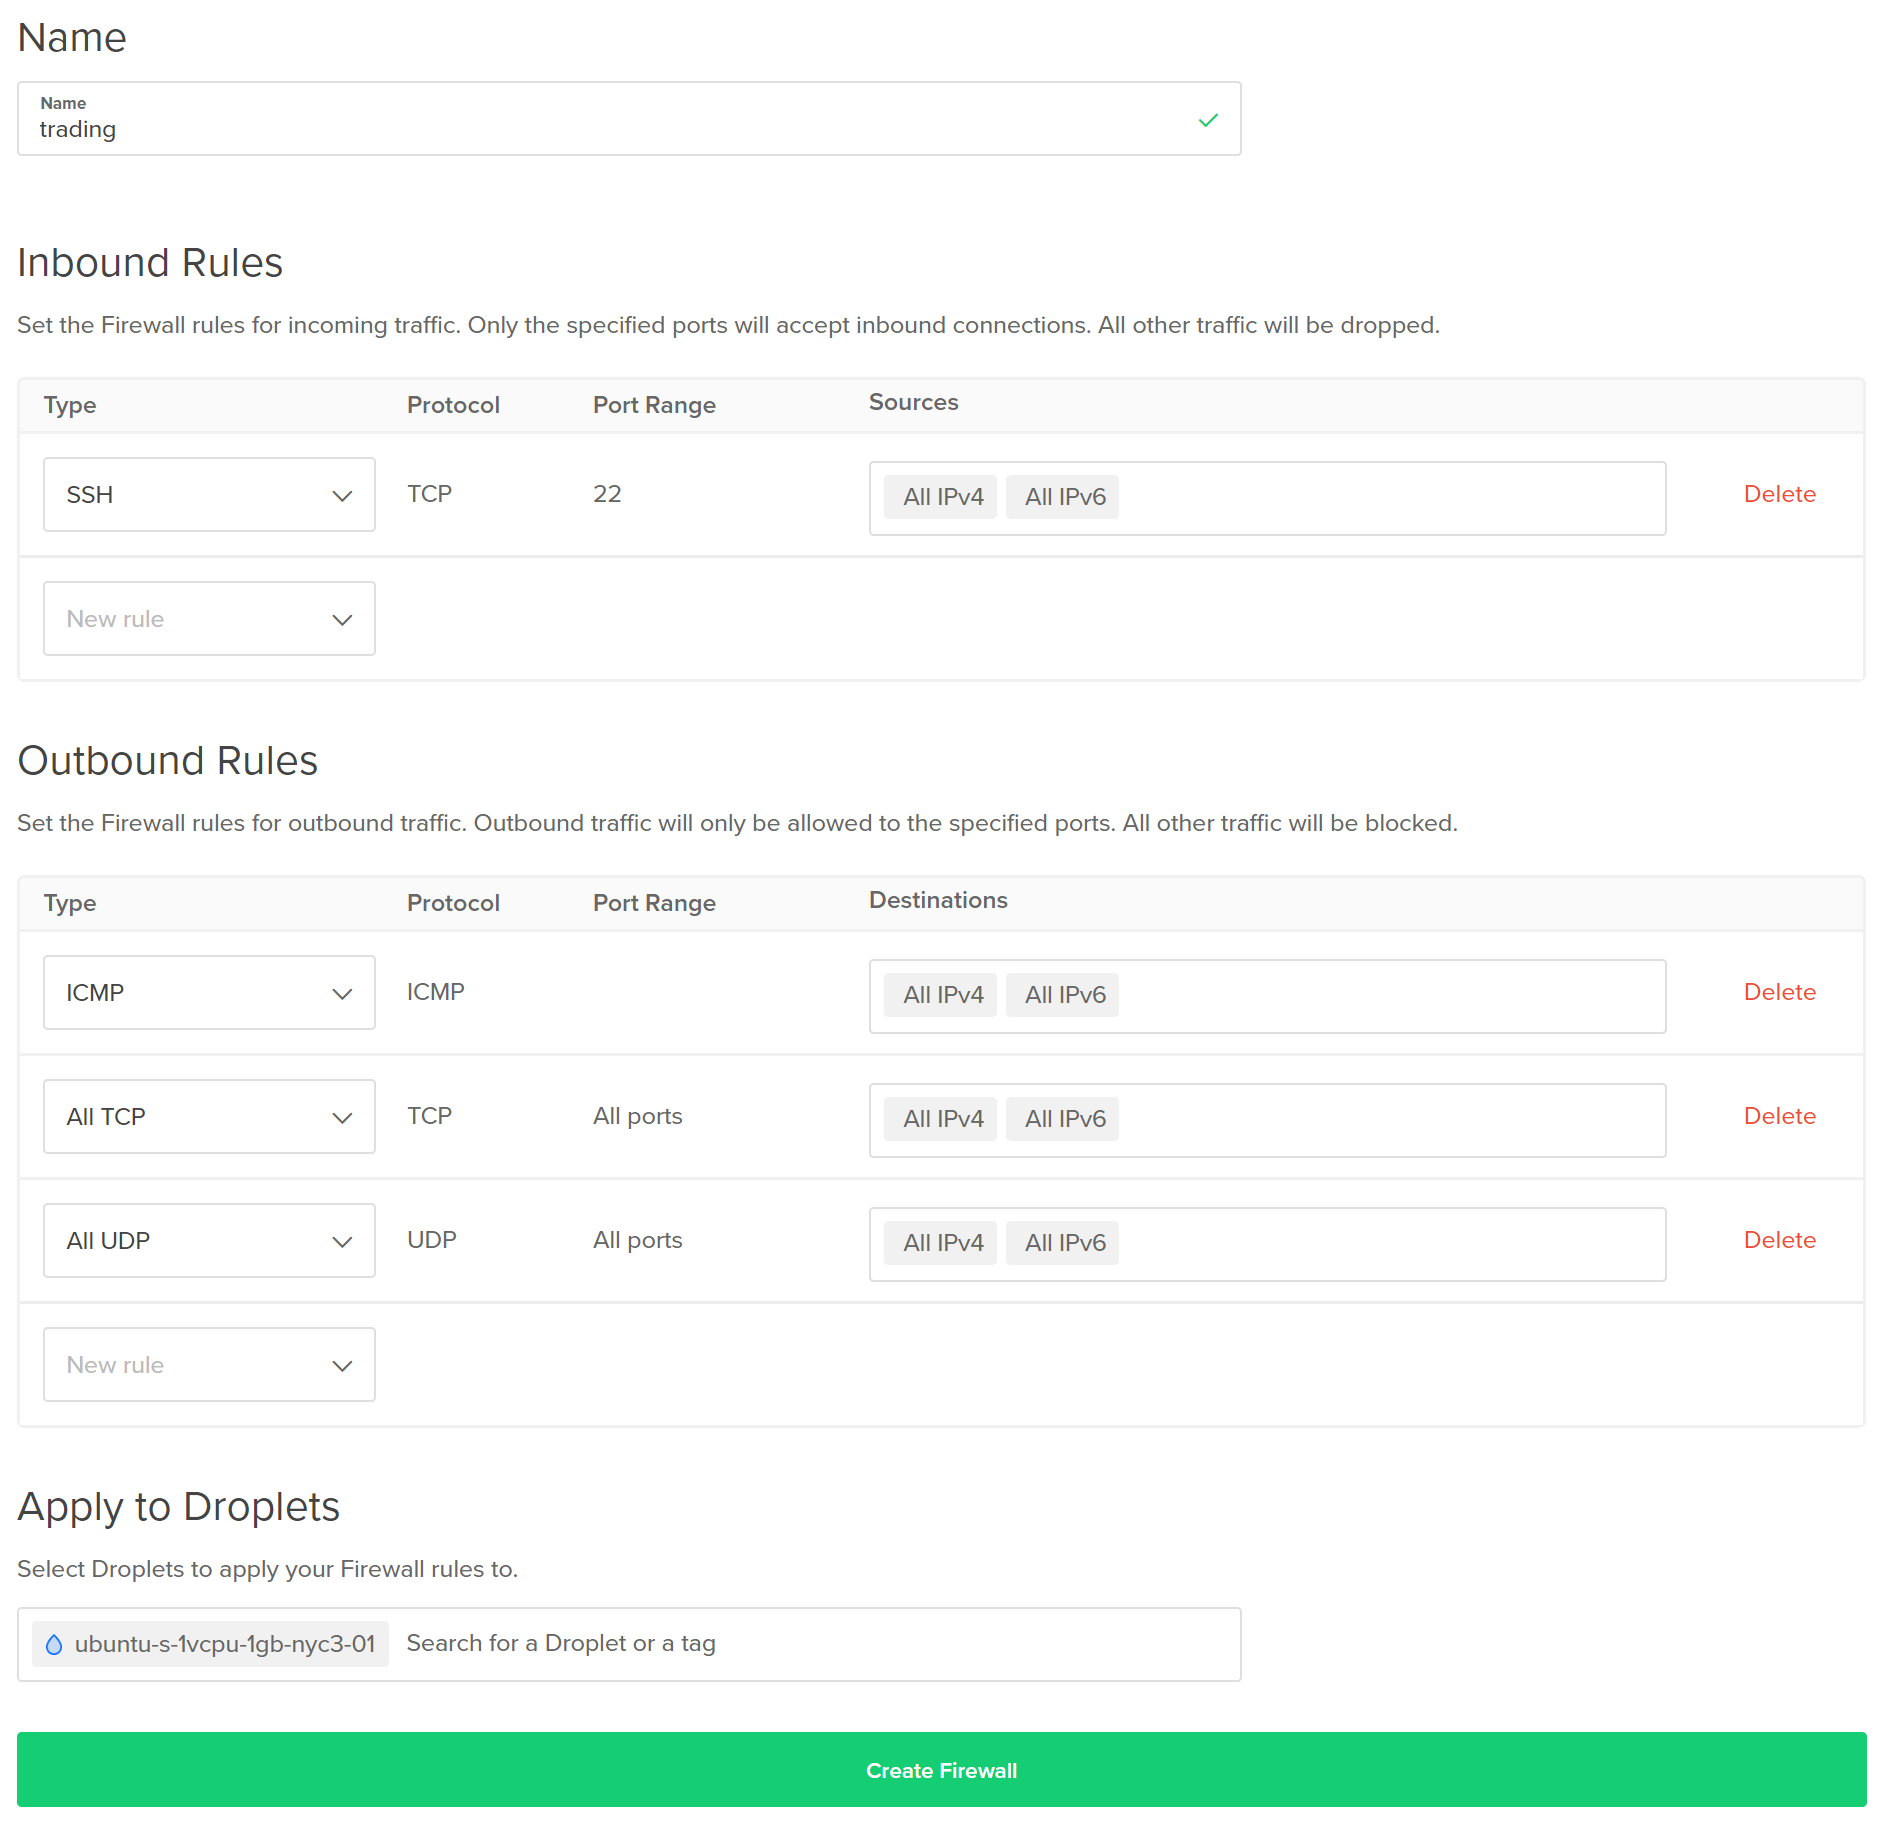
Step 2
- I recommend that you create a firewall rule to only allow SSH (port 22) inbound and ICMP. During the Linux setup part I will use
ufwto create rules that only allow SSH inbound as well.
Step 3
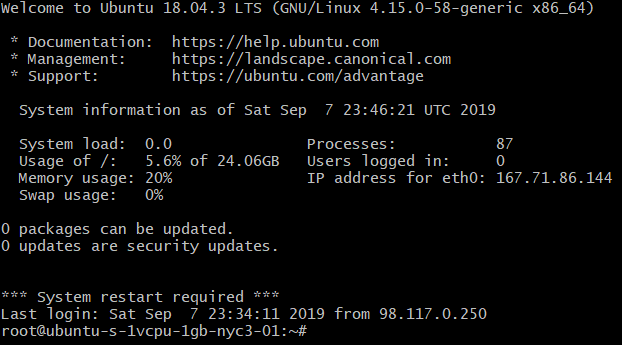
SSH into the server (hopefully you’re using SSH keys and not passwords!). If you don’t know how to do that you probably shouldn’t be following this guide.
First, I’ll be upgrading and installing a couple packages. fail2ban is an easy way to block SSH brute force attempts. It’s not really necessary when using SSH keys. unattended-upgrades is to keep the system up to date without interaction.
apt update && apt upgrade -y && apt dist-upgrade -y
apt install fail2ban unattended-upgrades -y
apt autoremove -y
Reconfigure unattended-upgrades to automatically install stable updates.
dpkg-reconfigure unattended-upgrades
Reconfigure tzdata and set the timezone to US/Eastern. This might not be necessary but I don’t want any weird bugs popping up due to the timezone not being Eastern.
dpkg-reconfigure tzdata
Finally, reboot to use the new kernel that was probably upgraded.
reboot
Step 4
Configure the firewall.
ufw allow 22/tcp
ufw enable

Step 5
Now it’s time to install docker.
sudo apt-get install \
    apt-transport-https \
    ca-certificates \
    curl \
    gnupg-agent \
    software-properties-common

curl -fsSL https://download.docker.com/linux/ubuntu/gpg | sudo apt-key add -

sudo add-apt-repository \
   "deb [arch=amd64] https://download.docker.com/linux/ubuntu \
   $(lsb_release -cs) \
   stable"

sudo apt-get install docker-ce docker-ce-cli containerd.io
It’s probably a good idea to hold the packages so if you upgrade while TWS is running it won’t upgrade docker and TWS will not restart. You can upgrade it manually each time by unmarking these packages.
apt-mark hold docker-ce docker-ce-cli containerd.io
Create a swap file since DigitalOcean does not have any swap to begin with.
fallocate -l 2G /swap
chmod 600 /swap
mkswap /swap
swapon /swap
echo '/swap none swap sw 0 0' | sudo tee -a /etc/fstab
Step 6
I will be using my own docker container for TWS. You can use someone elses or build your own like I did. In the future I may change the container to mount a volume for TWS settings so it’s not necessary to copy the configuration into the container.
git clone https://github.com/ryanclouser/docker-tws.git
cd docker-tws
This is where it gets a little tricky. You must go into your C:\Jts folder and look for a folder that is unusually long. This is used to identify settings for your account. You should have one for live and another for paper.

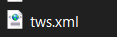
Copy the tws.xml from it into your docker-tws folder on the server. Go back one directory and copy jts.ini to the docker-tws folder as well.
Edit Dockerfile and replace the PROFILE value with it like so. It should be significantly longer than what is shown in the screenshot.
Change the PASSWORD field to something else if you want a strong VNC password.

Build the container.
docker build -t tws .
Step 7
And finally we can start the container and see it using VNC.
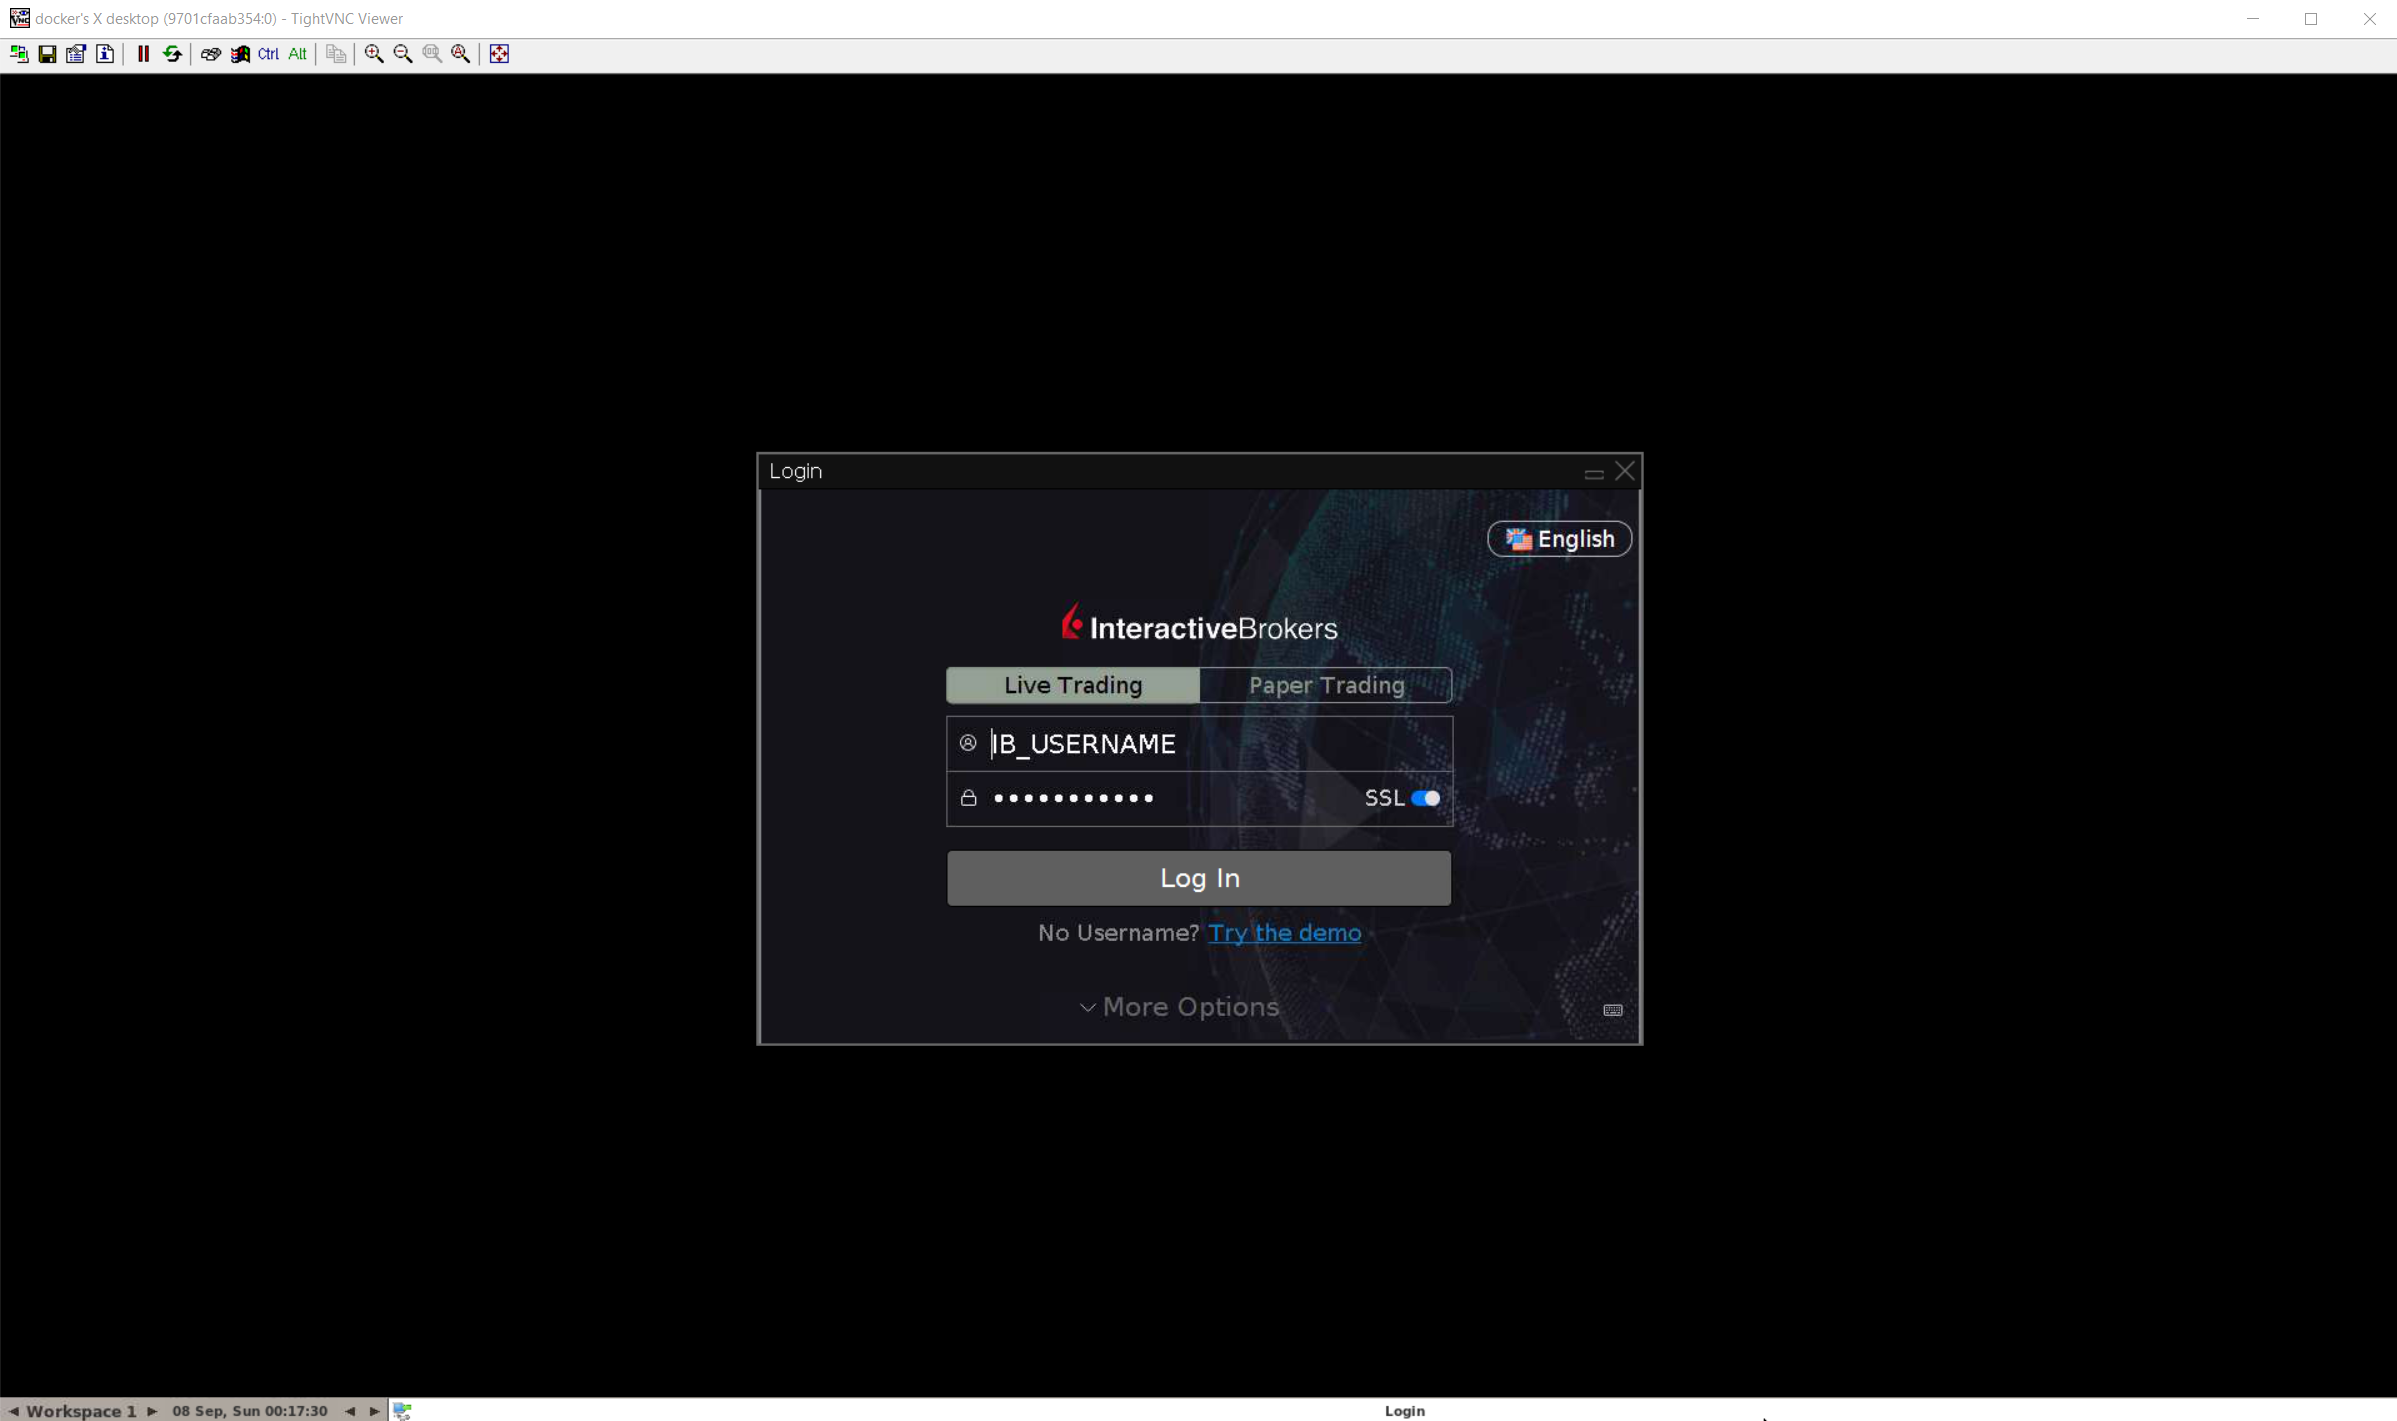
docker run -d --rm --name tws -e ARGS="username=IB_USERNAME password=IB_PASSWORD" -p 5900:5900 -p 7496:7496 -p 7497:7497 tws
You will need to reconnect with SSH using these parameters so local port 5900 connections are forwarded to the remote server through the SSH tunnel.
ssh ... -L 127.0.0.1:5900:127.0.0.1:5900
I like using TightVNC on Windows. There’s RealVNC on macOS and iOS which is just as good. And of course Remmina on Linux.
Final Thoughts
- If TWS never logs in and opens, you probably need more RAM or a different Java version to be installed.
- If you’re using this for algo trading where you do not need to see charts and what it’s doing every second, you can opt to use IB Gateway which is way less resource intensive.
- 1GB of memory ended up working but I needed to create a swap file. If you chose to use TWS with an algo instead of IB Gateway, I would recommend at least 2 cores so TWS doesn’t hog it all.
- At the time of writing I do not use any VPS for trading and simply run everything at home as that is more secure and the easiest/cheapest option.